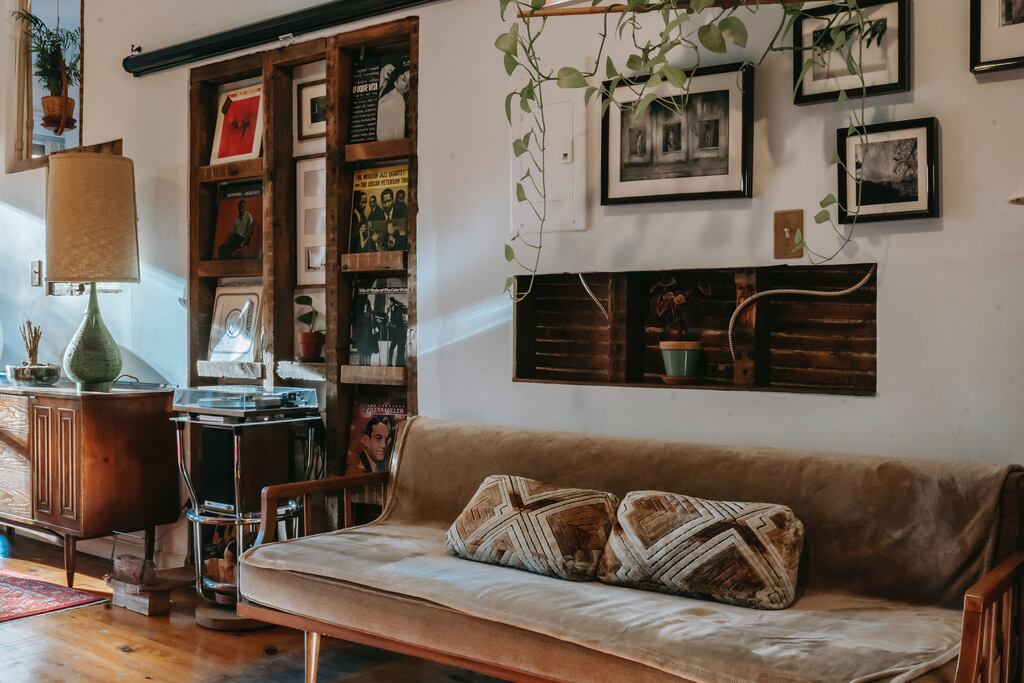
Personalized lamp with photos – shine a light on your best moments
Gifts
For some of us there are plenty of moments to remember, for others – not that many. Nevertheless they are to be cherished and we would like to keep them near our hearts. Ways to do just that are endless – you can print a picture on almost anything these days. There is no better way to commemorate your best moments than including them into the interior. Of course you can crowd your walls with endless print photos or even put up a big mural. In this article we have chosen one of the most underrated but absolutely the most luminous object to be decorated with pictures of your dearest memories. Over time, T-shirts, mugs, puzzles and a bunch of other stuff has been photo printed all over. Putting up a personalized lamp with photos is fresh and it looks tasty. So follow our lead and find out what we‘ve dug up to help you with this!
How to Personalize a Lamp with Photos?
This is the first question to pop into your mind when finding out about this topic, but don’ t be bothered, we’ ve got you covered. The process is quite simple:
- Step 1: buy a lamp;
- Step 2: glue some photos on it;
- Step 3: enjoy the result!
Well, we wish it was that simple. For some of you it might be enough indeed, but for the more refined individuals, there are plenty of advice on decorating some kind of light source with your photos. But to successfully personalize a lamp one might want to use a convenient web design software for this purpose. An easy and pleasant to use, a tool that shows an end result even before the lamp arrives. For this purpose Uniqcube have developed a lamp design tool available here. It is a very user friendly way to get your desired personalized lamp with photos for those who are less crafty. Although here we also have some tips to get your hands on the job.
Get creative and Design a Lamp with Photos Yourself
Once you dive into Google the vast world of Do It Yourself really unravels. All the DIY tutorials pop up, so you can become the master of the light. Anyone can find a good tip for any skill set – beginners to advanced, all are welcome to start a crafty project. Some tutorials have the maximum result with minimal effort, others need a bit more thought put into it. Read on
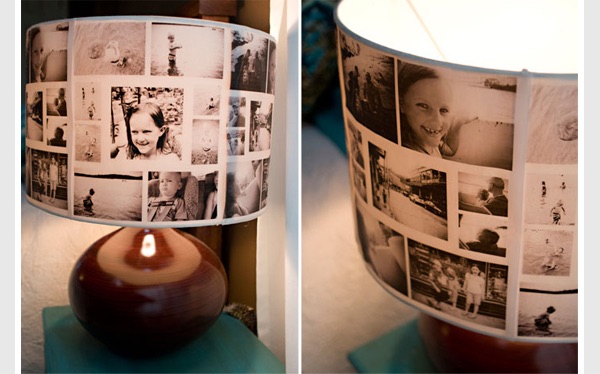
Decorate a Vintage Lamp with Photos
It is as simple as it sounds – just prepare the tools and start doing that. Just check the lamp is not connected to any energy source or the bulb doesn’t heat up after a while and you’re safe to start!
For this all you need:
- A lamp with transparent lampshade;
- Some paper printed photos;
- Scissors or a knife;
- Double sided tape.
Cut any white borders off the photos, so they will nicely overlap. Begin by attaching them one by one to the lampshade using the double sided tape. It will be easier if you start from the top of the lamp and work your way around it till the bottom. When you get there, trim off any excess photos. Voila, you’ve finished your first awesome lamp with photos project!
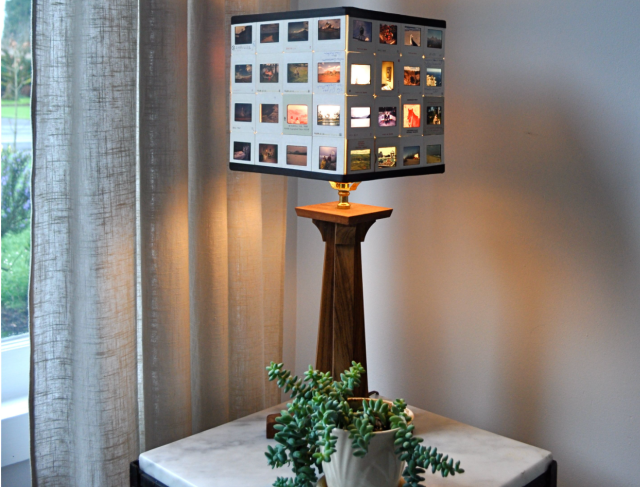
Create Your Own Lampshade from Old Slides
This is a task that requires a steady hand and eager attitude, but once you get a grip on it, you’ll start enjoying the process. For the supplies, you can gather some around the house if you’re a handy person, otherwise head straight to the closest crafts supply store. Before that try to ask around, maybe some of your friends has something useful. As for the slides, collect some from your parents or grandparents, if they can’t provide you with the necessary amount, there’s a way out – thrift store or Ebay.
One last thing before we start, the supply list is quite extensive, though.
So, here’s what you’ll need:
- Slides (for an 8″ x 8″ lampshade you’ll need 64 slides);
- Light box (you can do this project without one, but it’s much easier with one);
- Vellum (enough for four 7 1/2″ x 7 1/2″ pieces);
- Archival double-sided tape;
- Book binding tape (a white 5/8″ linen tape and a 1″ thick black satin tape will do);
- Utility knife;
- Straight edge;
- Cutting mat;
- Carpenter’s Square (optional, but helpful);
- Scissors (tiny ones work best);
- Bone knife;
- Lamp frame (a disassembled lamp from a thrift store or a square 8″ x 8″ frame works).
What you’ll have to do:
To put it simply, arrange the photos in four piles of 16 slides each. You may combine them according to any criteria (color, image, theme etc.).
Then lay out each 16 in a 4×4 grid (outside of your shade will be face down for now). The side and arrangement of the face is up to you. Next connect the first two columns of your lamp with double sided tape.
Do the same for the rest. To make it really stick, put some pressure on the tape seams with the bone knife.
Repeat the procedure for the rest of your slides.
Then measure one 4×4 quadrant and cut 4 pieces of vellum roughly the same size (it needs to be 0.5” smaller not to go over the edges.
Stick the vellum to the inside of your lamp with the tape (remove the protective layer first). Then place the top ring of the frame inside the shade.
Lastly put the linen tape lengthwise around the top of your slides then fold it over the wire ring and stick it to the inside of the shade.
Put up your shade the way you want it to look and let the light shine on your creativity!
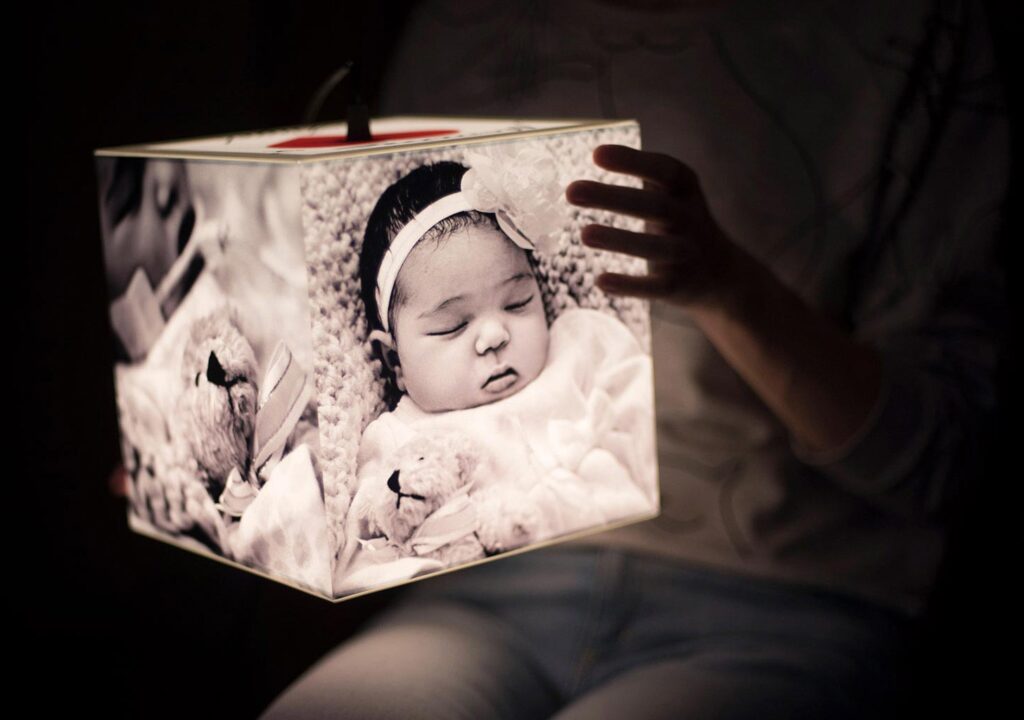
Create a Personalized Cube Lamp with Photos
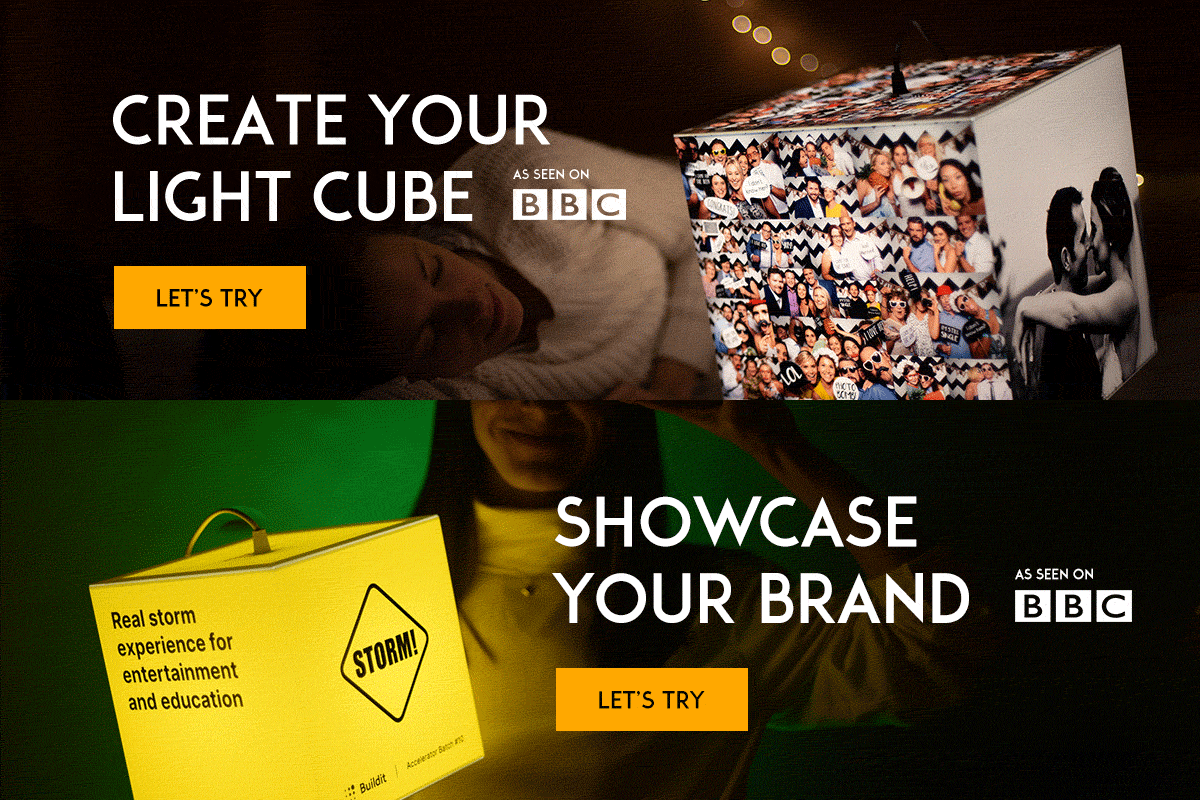
We know, it may not be for everyone, but a cube with photos is the new IT thing on the market. While lightboxes and neon lights are trending on Pinterest, Uniqcube have created a light cube that can be your personalized lamp with photos. This is made for those who want to keep memories lit up at all times, but don’t want to bother with all the hassle of handicrafts. This is a completely adjustable cube lamp for any taste. To effortlessly design a cube lamp in just three steps use a tool available at www.uniqcube.com.
Summary
One of the coolest interior items is a personalized lamp with photos. You can make one yourself or trust someone else to do it for you. Either way it makes an immaculate gift for yourself or your loved ones. Collect all your unforgettable moments and be ready to light them up on a lamp. Whether you are a crafty fairy or a scissorhanded princess, you can shine your light through memories in any place.




Your thoughts